Setup Inkscape in Windows and Ubuntu
Inkscape software is easy to install in both Windows and Ubuntu. However it is a little difficult for beginners to figure out how to customize the software. This article discusses the steps to customize Inkscape in both Windows and Ubuntu.
Windows Setup
Inkscape official website has a portable version. You can download a 7-zip file from this official download page. Click the third download button under text “Binary archive in 7zip format (64bit)” to down a .7z file. A free utility software 7-zip is able to extract .7z file into a directory. The 7-zip software also has a portable version if you do not want to install it.
After the file is extracted into this directory, double clicking
bin\inkscape.exe or Run Inkscape! file starts Inkscape.
C:\Users\<username>\Documents\inkscape-1.1-x64\inkscape
Inkscape User Extension Directory
In Inkscape, click menu item Edit > Preferences to open preference
dialog (Ctrl + Shift + p). Choose System on the left, and the right side
shows system paths for variables. The default value
for User extensions is,
C:\Users\<username>\AppData\Roaming\inkscape\extensions
Open this location in File Explorer and copy and paste extension files
(.py and .inx) into the directory. The extension programs will show up
under Extensions top level menu next time Inkscape starts. Or you
can change the location to a different directory.
Fonts
There are two ways to customize fonts in Inkscape.
The first one is to copy font files into C:\Windows\Fonts directory.
The fonts become accessible to all Windows programs. You can find
and download online .ttf font files such as popular Roboto fonts.
The second way is to create a new fonts directory at the location
where Inkscape folder is extracted, and copy files into
this fonts directory. Open file \etc\fonts\conf.d\50-user.conf and add
a line <dir>./fonts</dir> before the last line. Check the new fonts
on Text and Font dialog in Inkscape.
...
<dir>./fonts</dir>
</fontconfig>
Ubuntu Setup
In Ubuntu 21.04, bash command sudo apt install inkscape installs Inkscape 1.0.2
as of 9/1/2021. If you want the latest stable version 1.1,
this omg ubuntu web page
provides more information. You add a ppa repository first and then
type the same bash command to install.
sudo add-apt-repository ppa:inkscape.dev/stable-1.1
sudo apt install inkscape
To add fonts in Ubuntu, we create a .fonts subdirectory in the home directory and copy font files into it. The fonts will become available in Inkscape.
Custom Settings
Inkscape has lots of settings that users can customize. However, a few
default settings do not work very well, and it is suggested to change them.
We can access Preference dialog via menu Edit > Preference or keyboard
shortcut Ctrl + Shift + p.
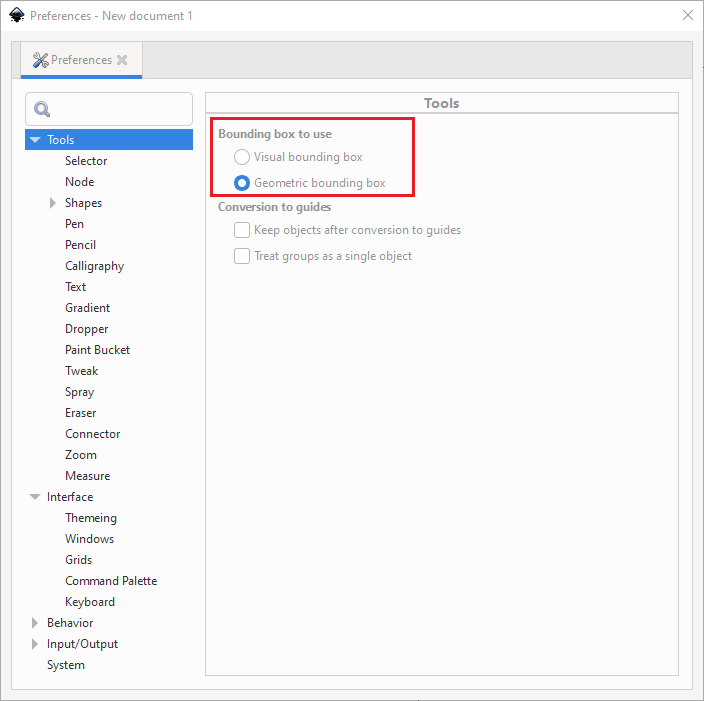
We suggest changing Bounding box to use from Visual bounding box to
Geometric bounding box. The setting is under Tools on the left panel.
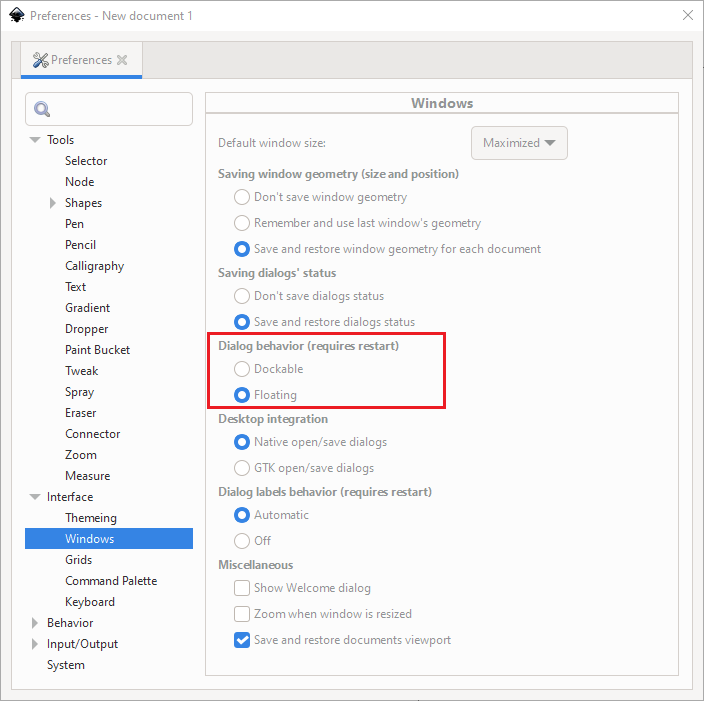
The default Dialog behavior is Dockable under Interface/Widnows
panel. We suggest changing it to Floating to be more consistent with
other Windows programs.